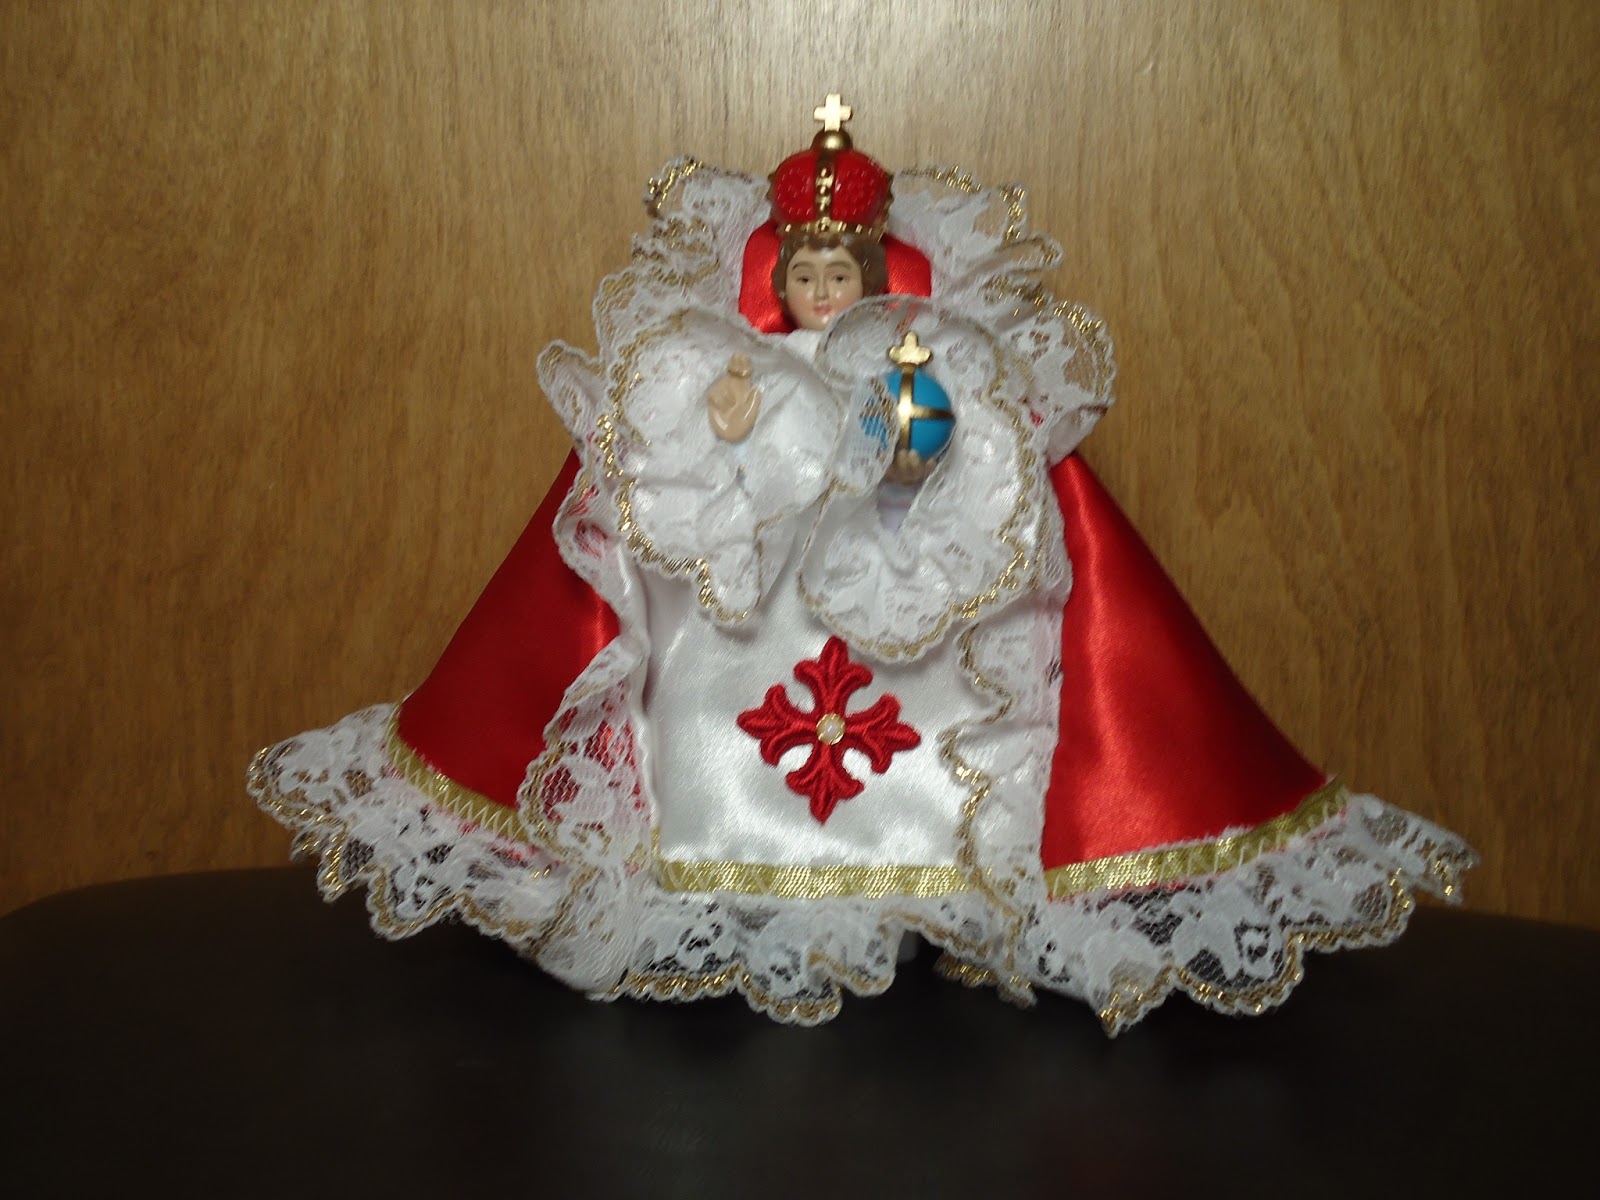
The Red Vestment came with the Statue...
Six Inches...
The Statue is six inches tall and looks like this without the vestment on.
The Red Vestment...
The best way to figure out how to make a vestment seems to be to properly investigate the original. I took apart some stitches and studied it. The span of this vestment is about 10 inches, including the lace.Some Vocabulary...
Cape - This is the red sides, and around the back. This can be a separate piece, or connected to the vestment.Vestment - This is the white part, which is under the cape and visible in the front.
Sleeves - This are more like hand-holes on a small statue, covered in lace. The left-hand holds the globe, so the hole has to be considerably larger and slightly lower than the right hand.
Collar - There is a front lacy colar under his chin, and the back collar is sometimes more like a head-rest (the top red fabric with lace)
Alb - is a white undergarment that may have lace on the bottom. For small statues, it is implied by the lace on the bottom of the vestment.


No comments:
Post a Comment